
Manual of assembling lightbox
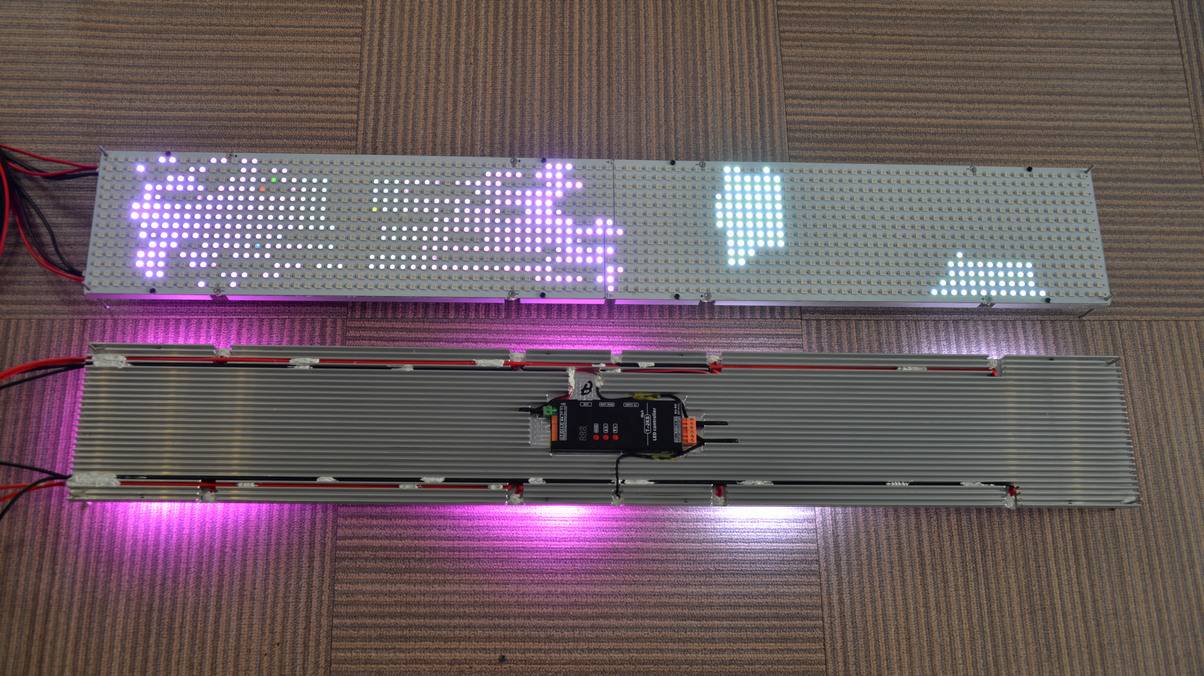
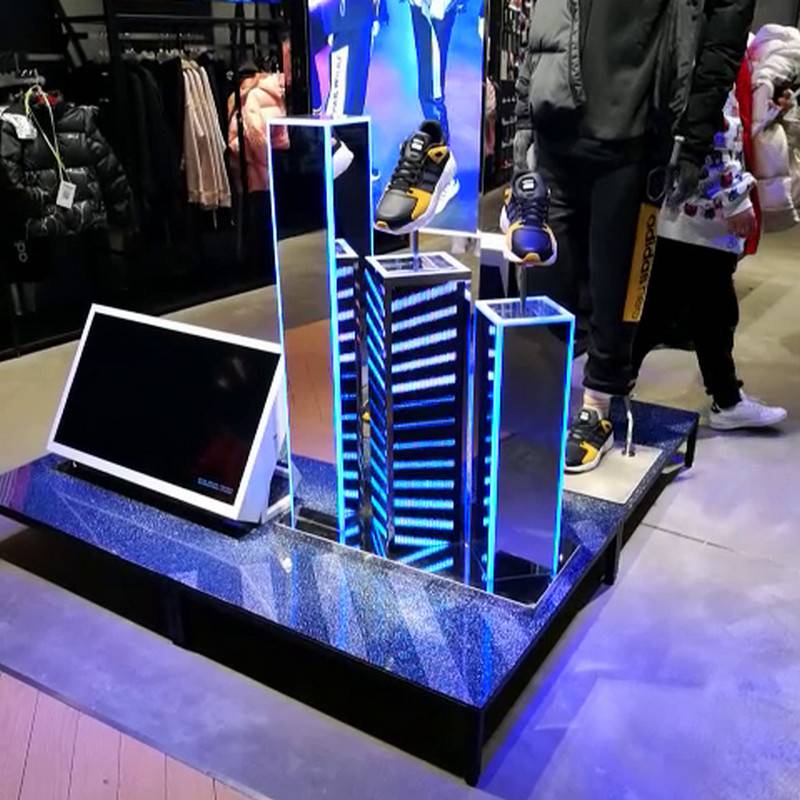
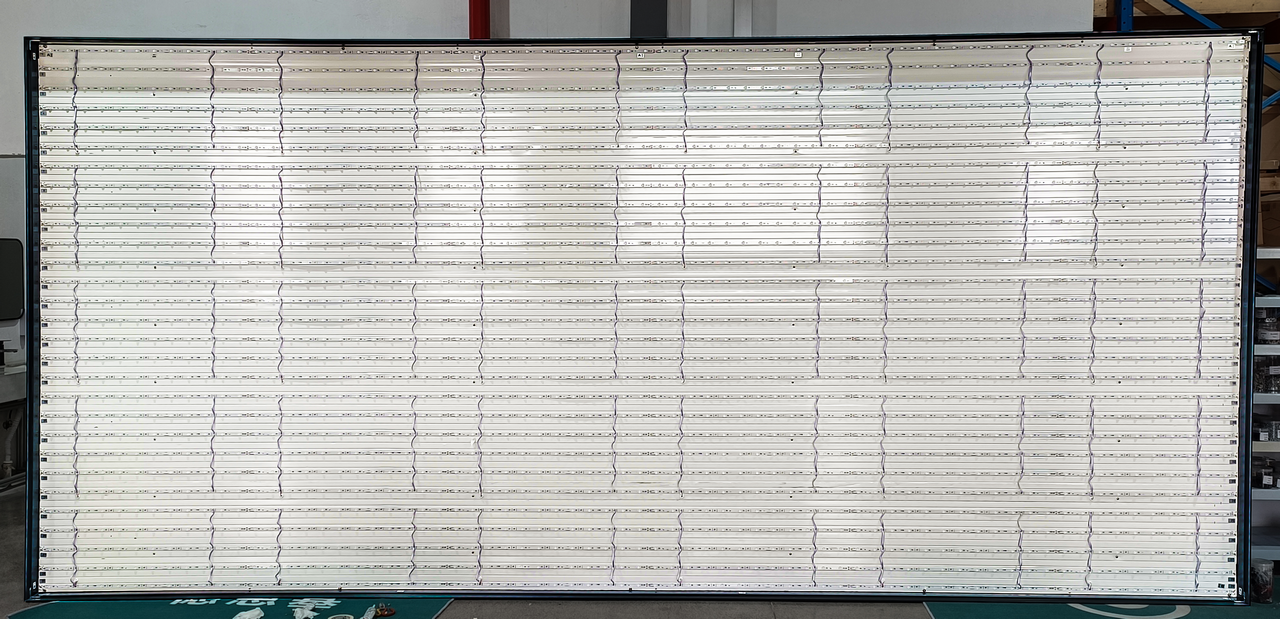
Overall picture

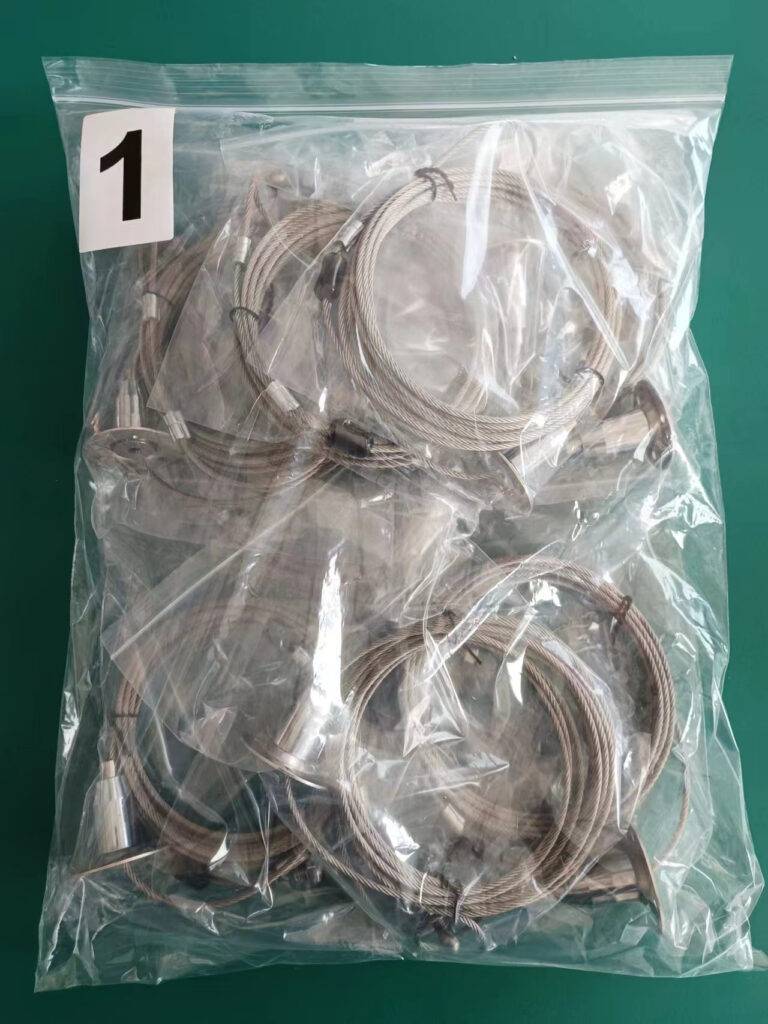
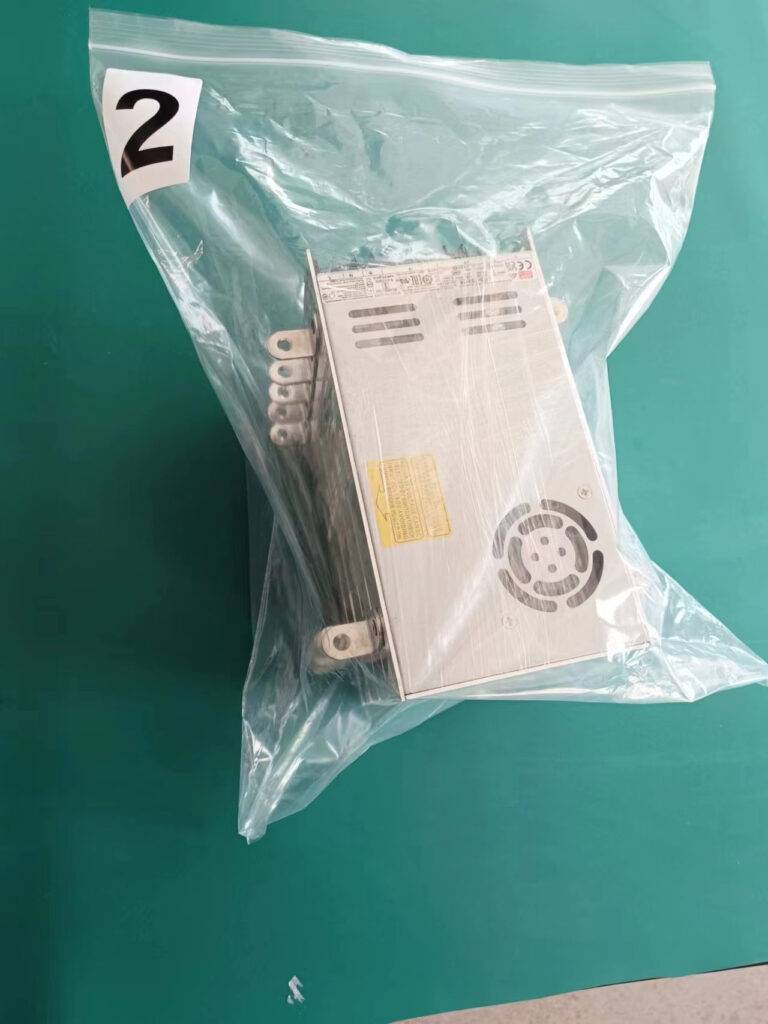
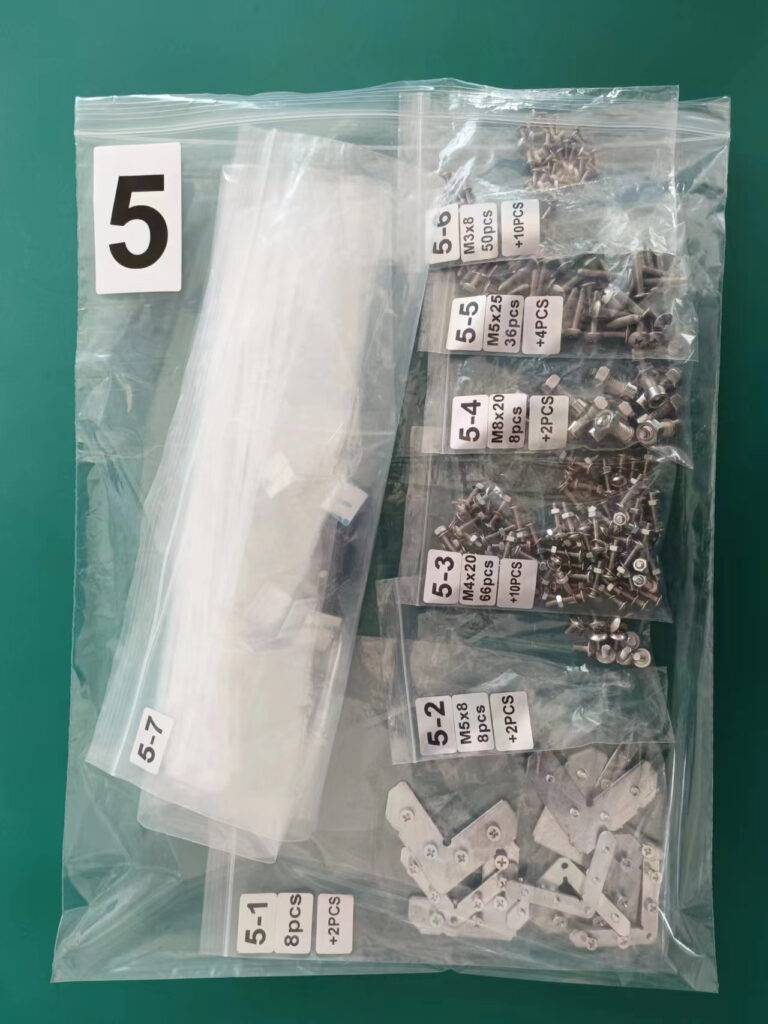
Hardware package
STEP 1 Assemble the frame
Need to align the corner as marked below. Need to put T shape nut in the longer profile.
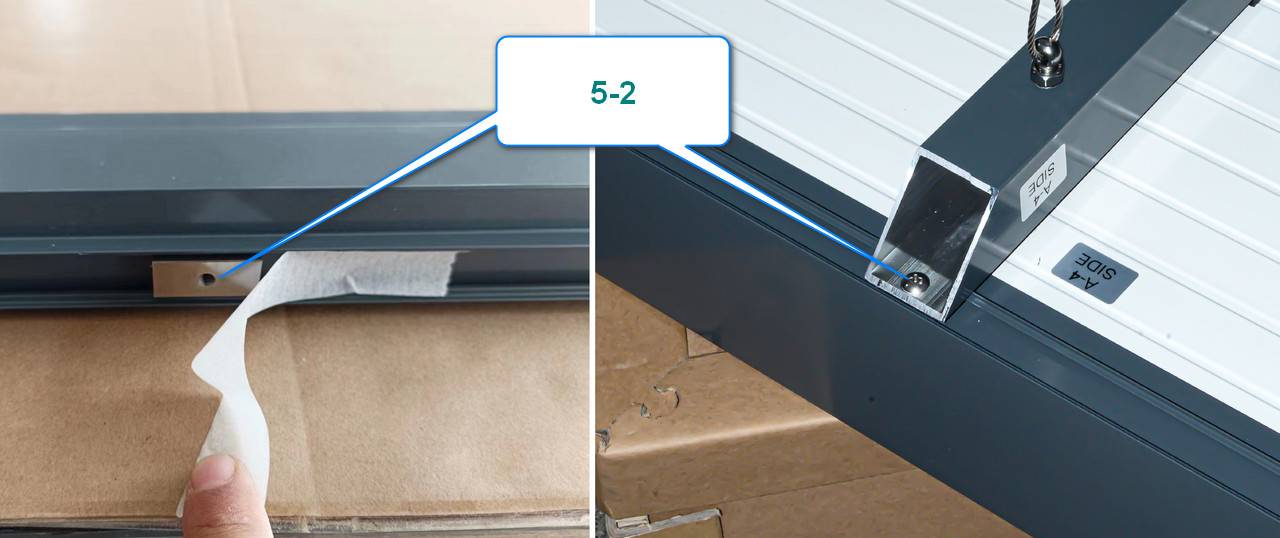
STEP 2 Assemble square tube
Please use 5-2 screws and T shape nut.
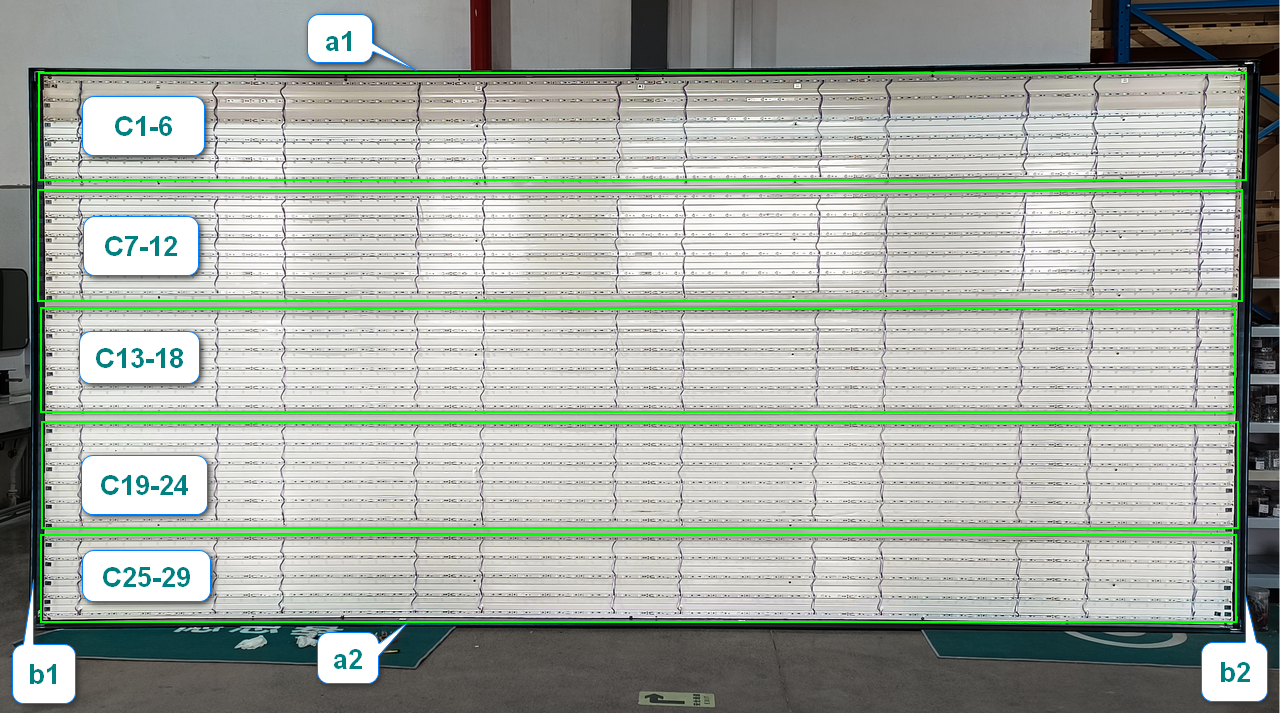
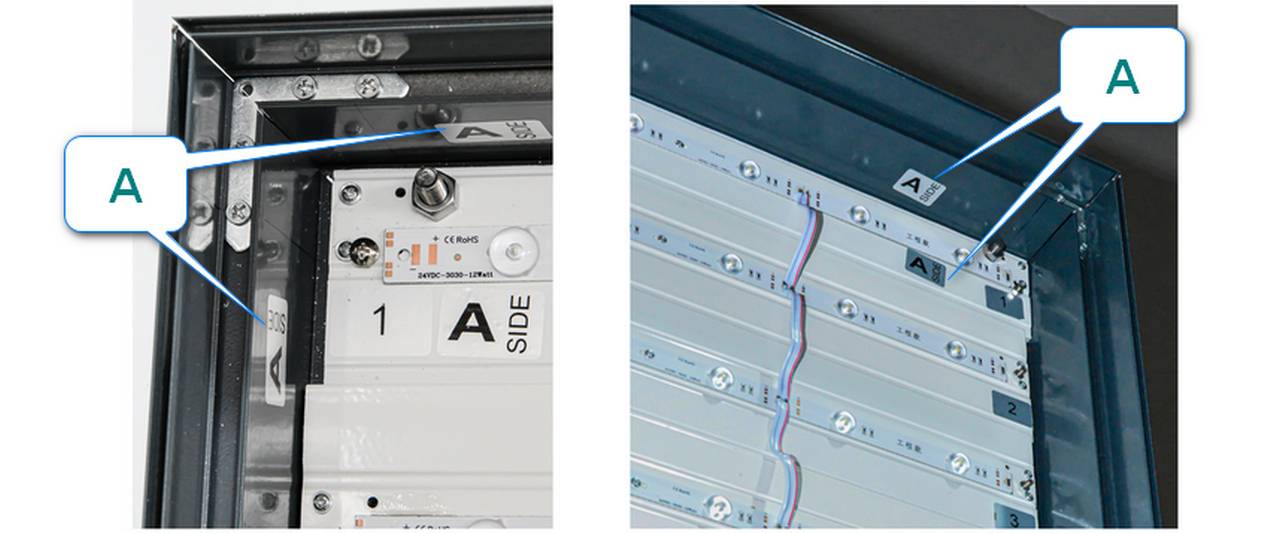
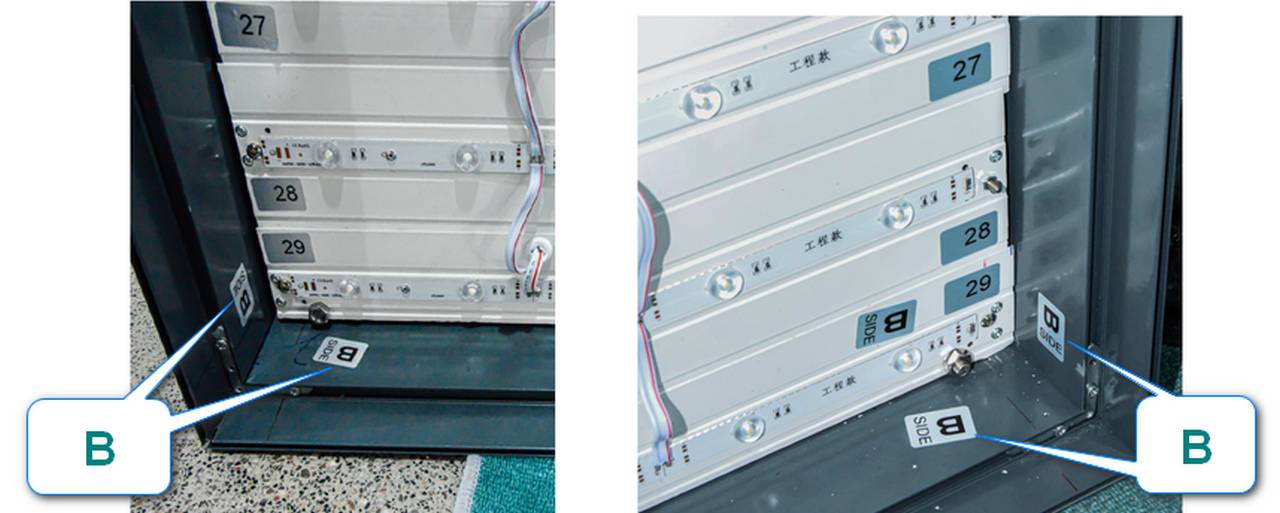
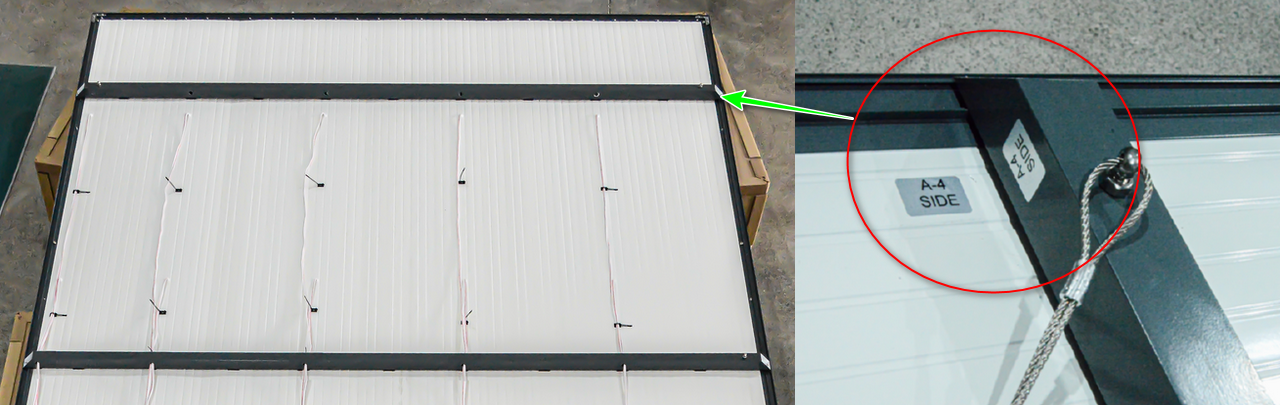
STEP 3 Assemble the white light plate
Please check the number and A mark.
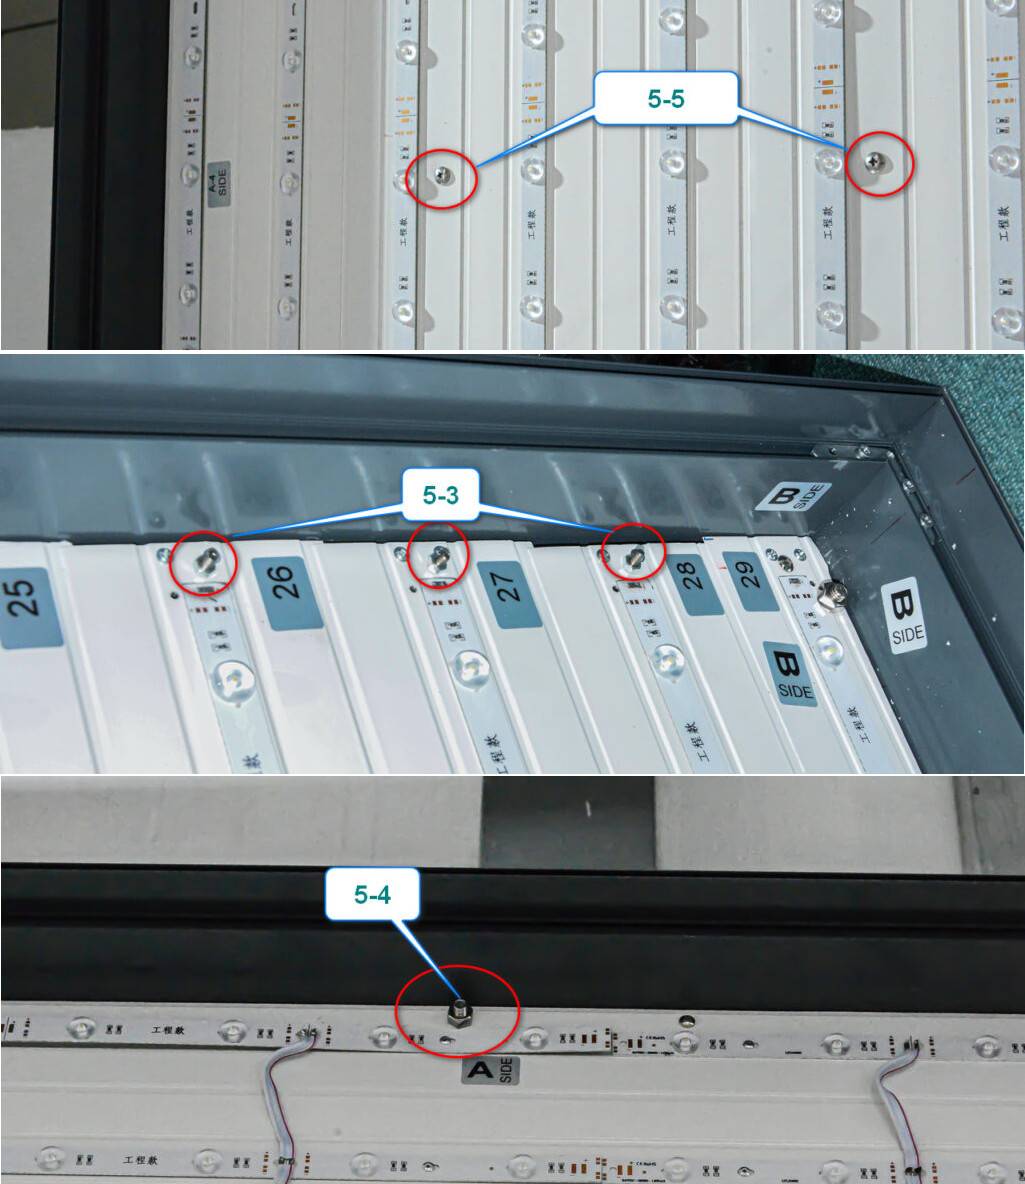
- Use 5-5 Screw to fix the light plate on the square tube.
- Use 5-4 Screws to fix the light plate on the a1/a2 profile.
- Use 5-3 screws & nuts to fix the light plate on the b1/b2 profile.
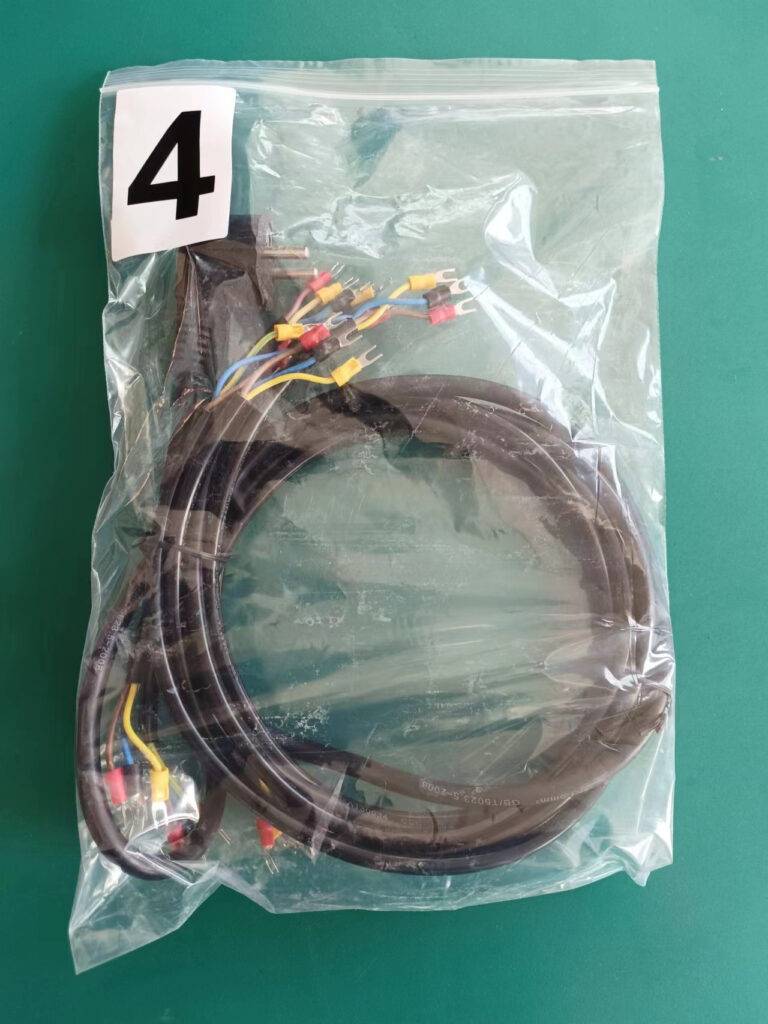
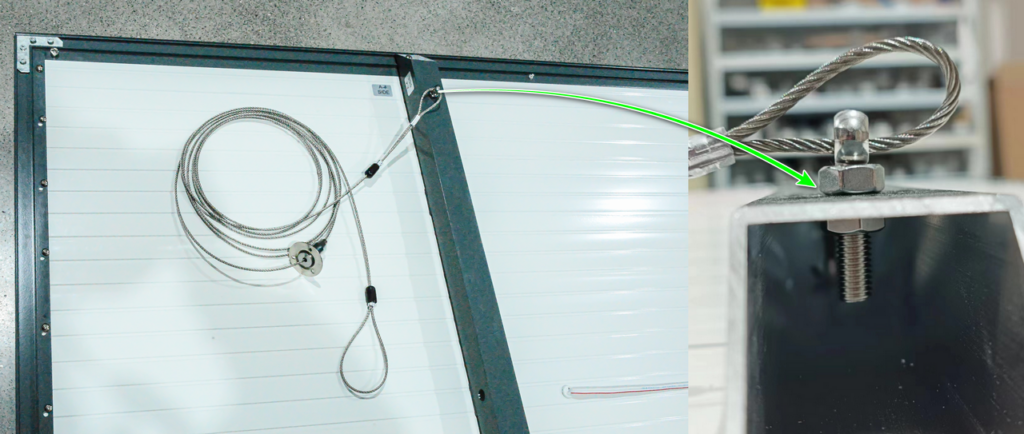
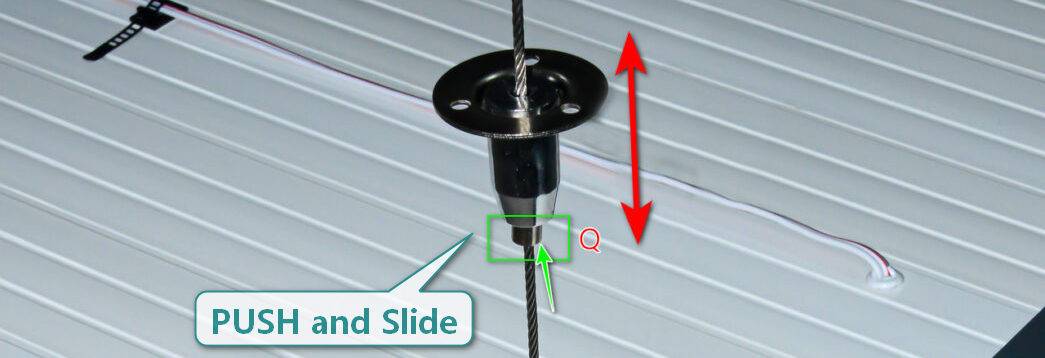
STEP 4 Assemble steel cable
4 pcs is strong enough for what we test in-house. 8 pcs should be safe. Then can hang the light box, and will be easy to tight the screw in the middle.
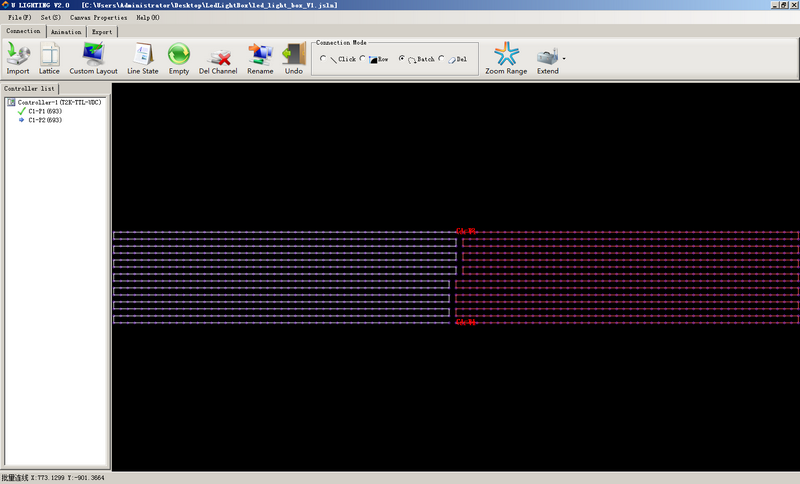
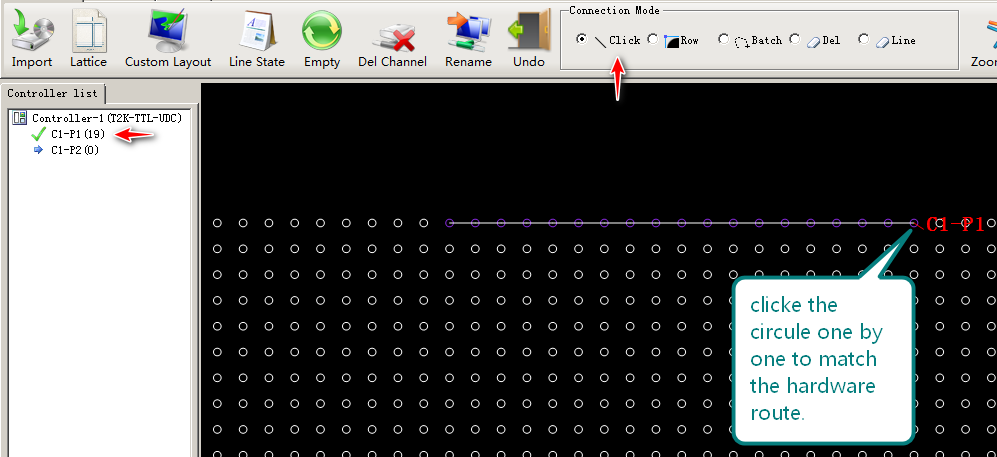
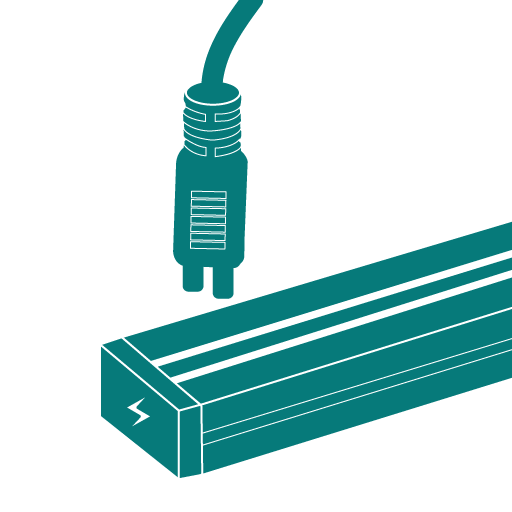
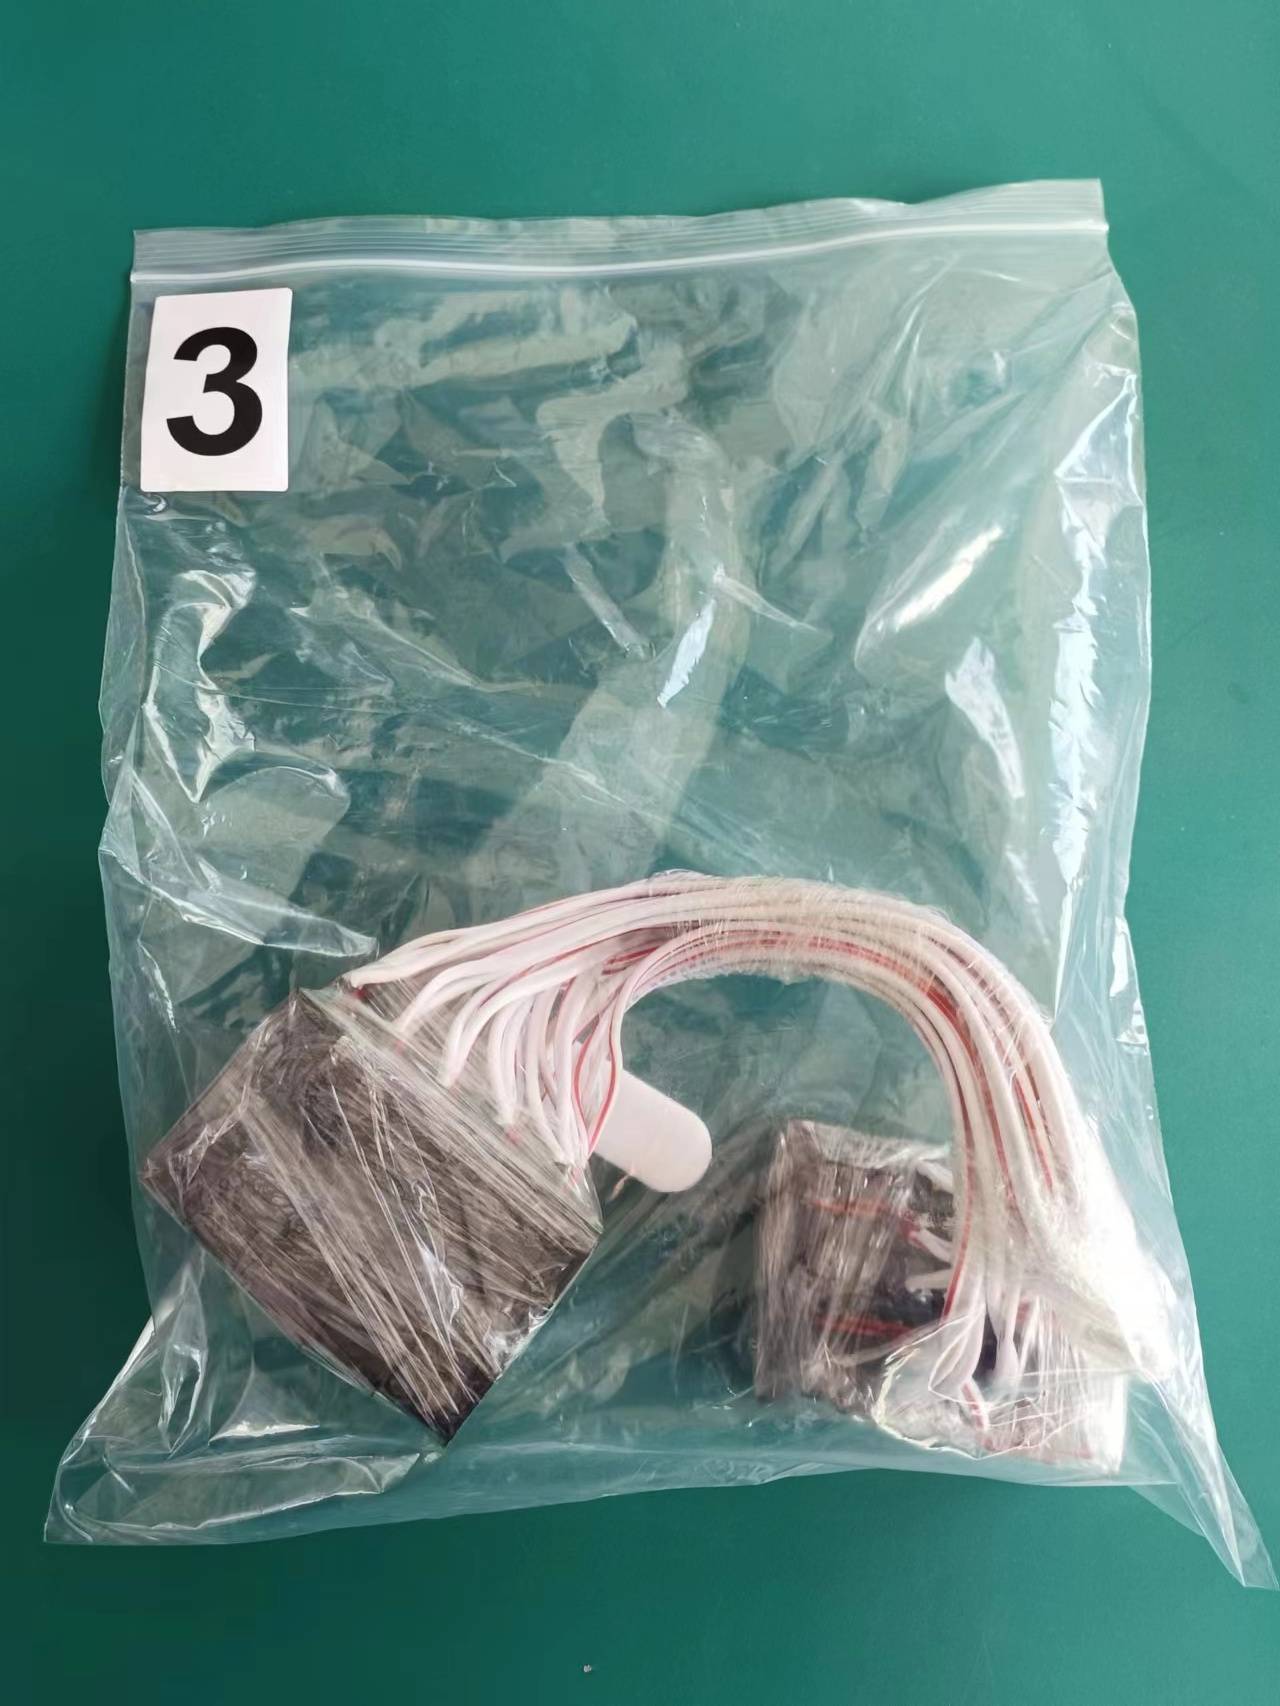
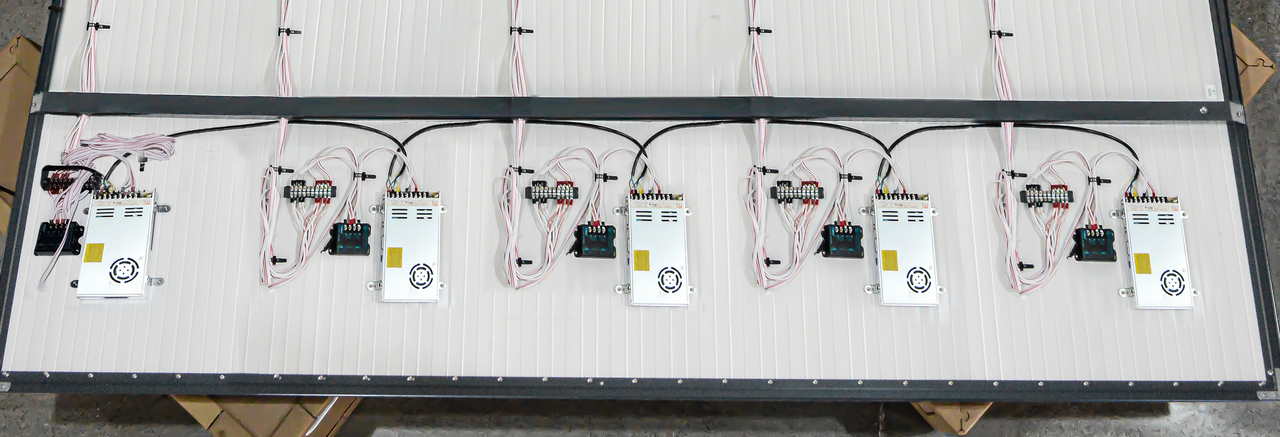
STEP 5 Wiring and Connect power supplier
Fix the dimmer, distributor and power supplier on the light plate with 5-6 screws.
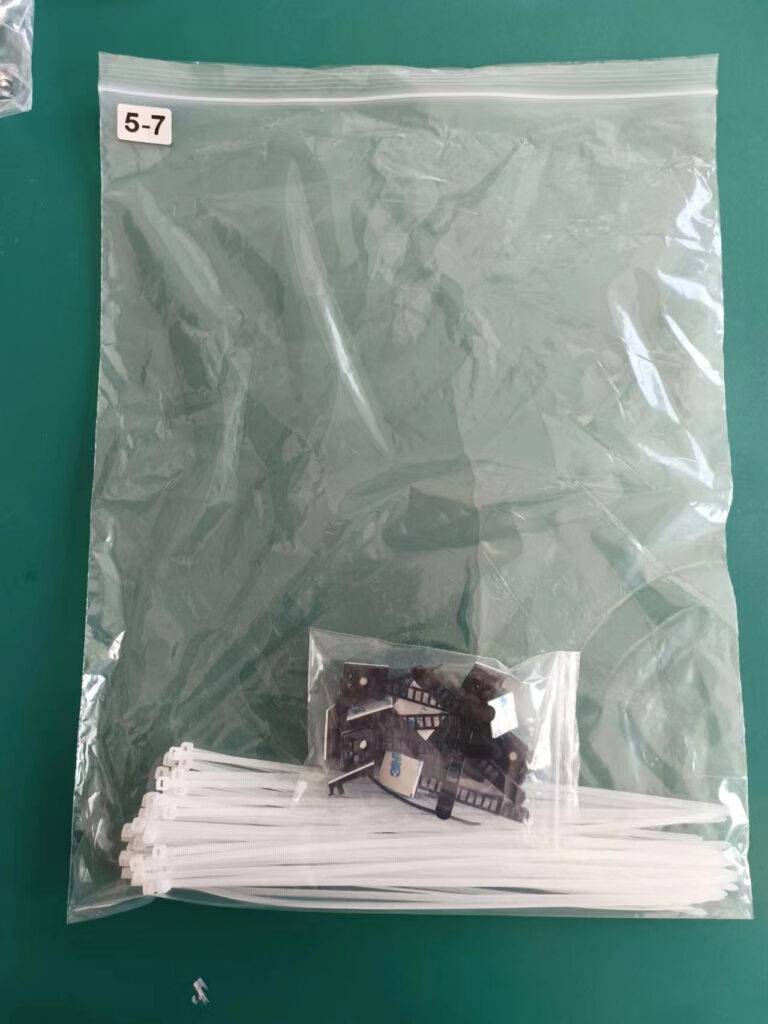
Please insert the cable through the holes in the square tube. And tie the cable.
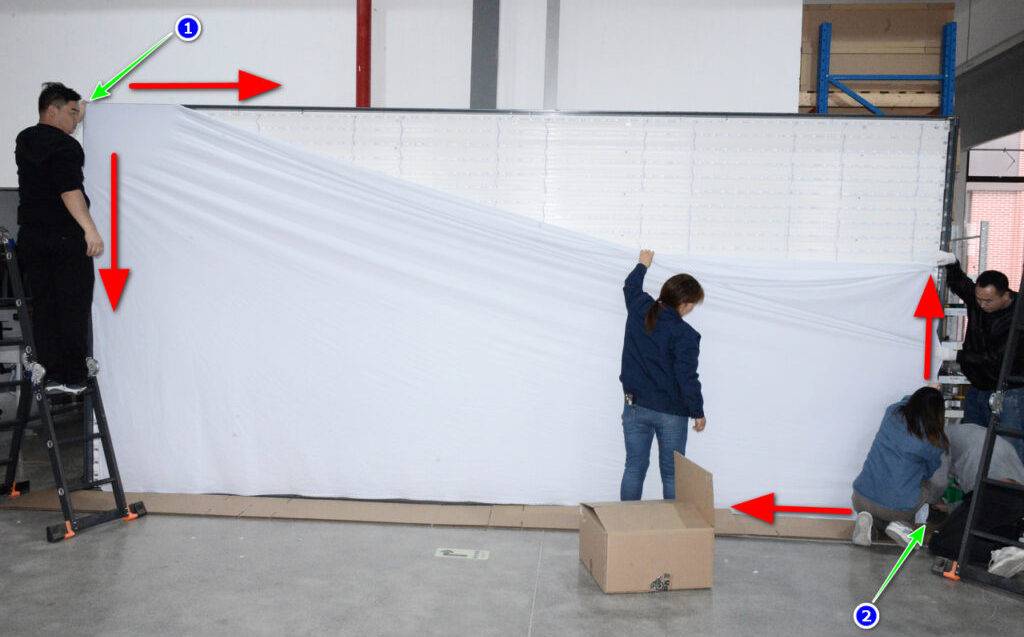
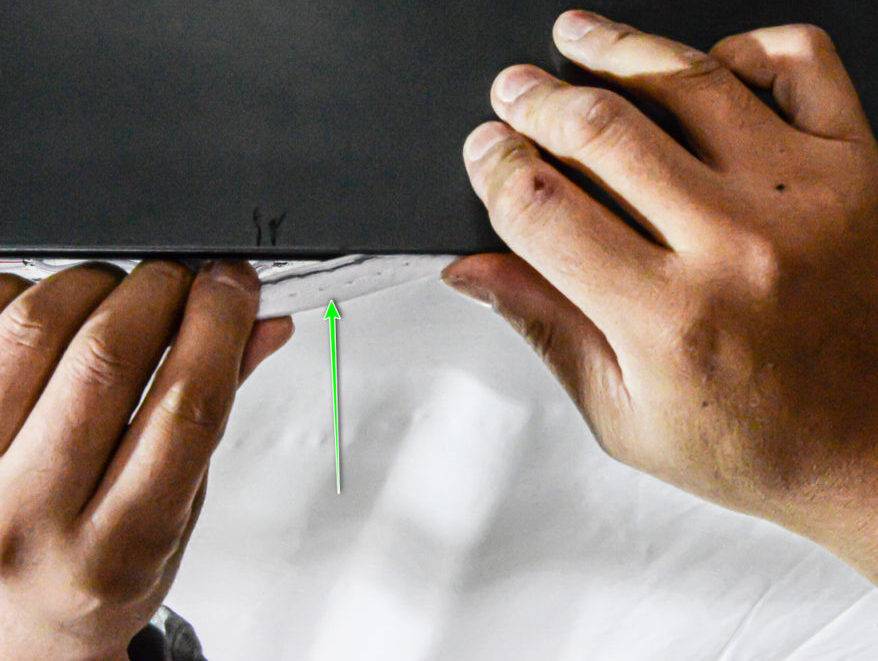
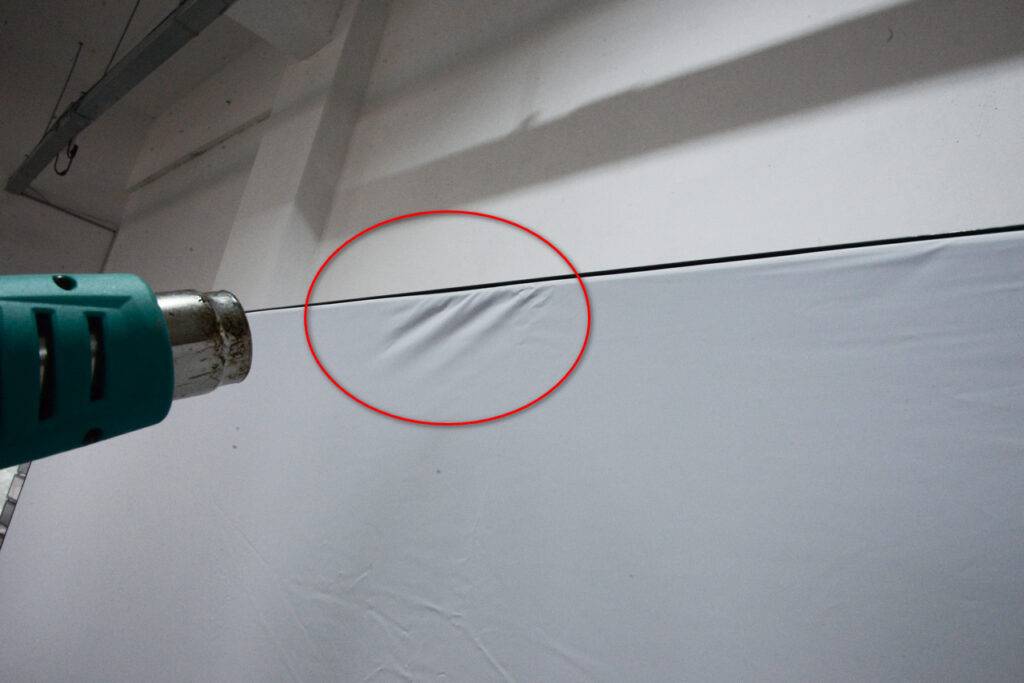
STEP 6 Install fabric
Install 4 corners first, then the middle. If the fabric is hard, please use a hair dryer to heat it. < 50 °C. High temperatures will damage the fabric. Then the fabric will be easy to install. The wrinkle will disappear after 12 hours. Nails might damage the fabric also, and the cutout will be big automatic.
The dimmer is fixed duty, 25%(TOP), 50%(Bottom), 75%(Left), and 100%(Right), if you need another duty, please let us know.
If you have any questions, please contact younggu@dengtec.com, cellphone: 00 86 135 8494 3525